It’s time to cut up some wood and make this eurorack case design become reality. This is a continuation of my adventures in building a custom Eurorack modular synth case. Check out Part 1 – The Design, where I talk about how I planned the build, or skip ahead to Part 3 – The Assembly, Part 4 – The Power Supply, and Part 5 – The Setup. If process stuff isn’t for you but experimental music synthesis is, cut right to what this dang thing sounds like.
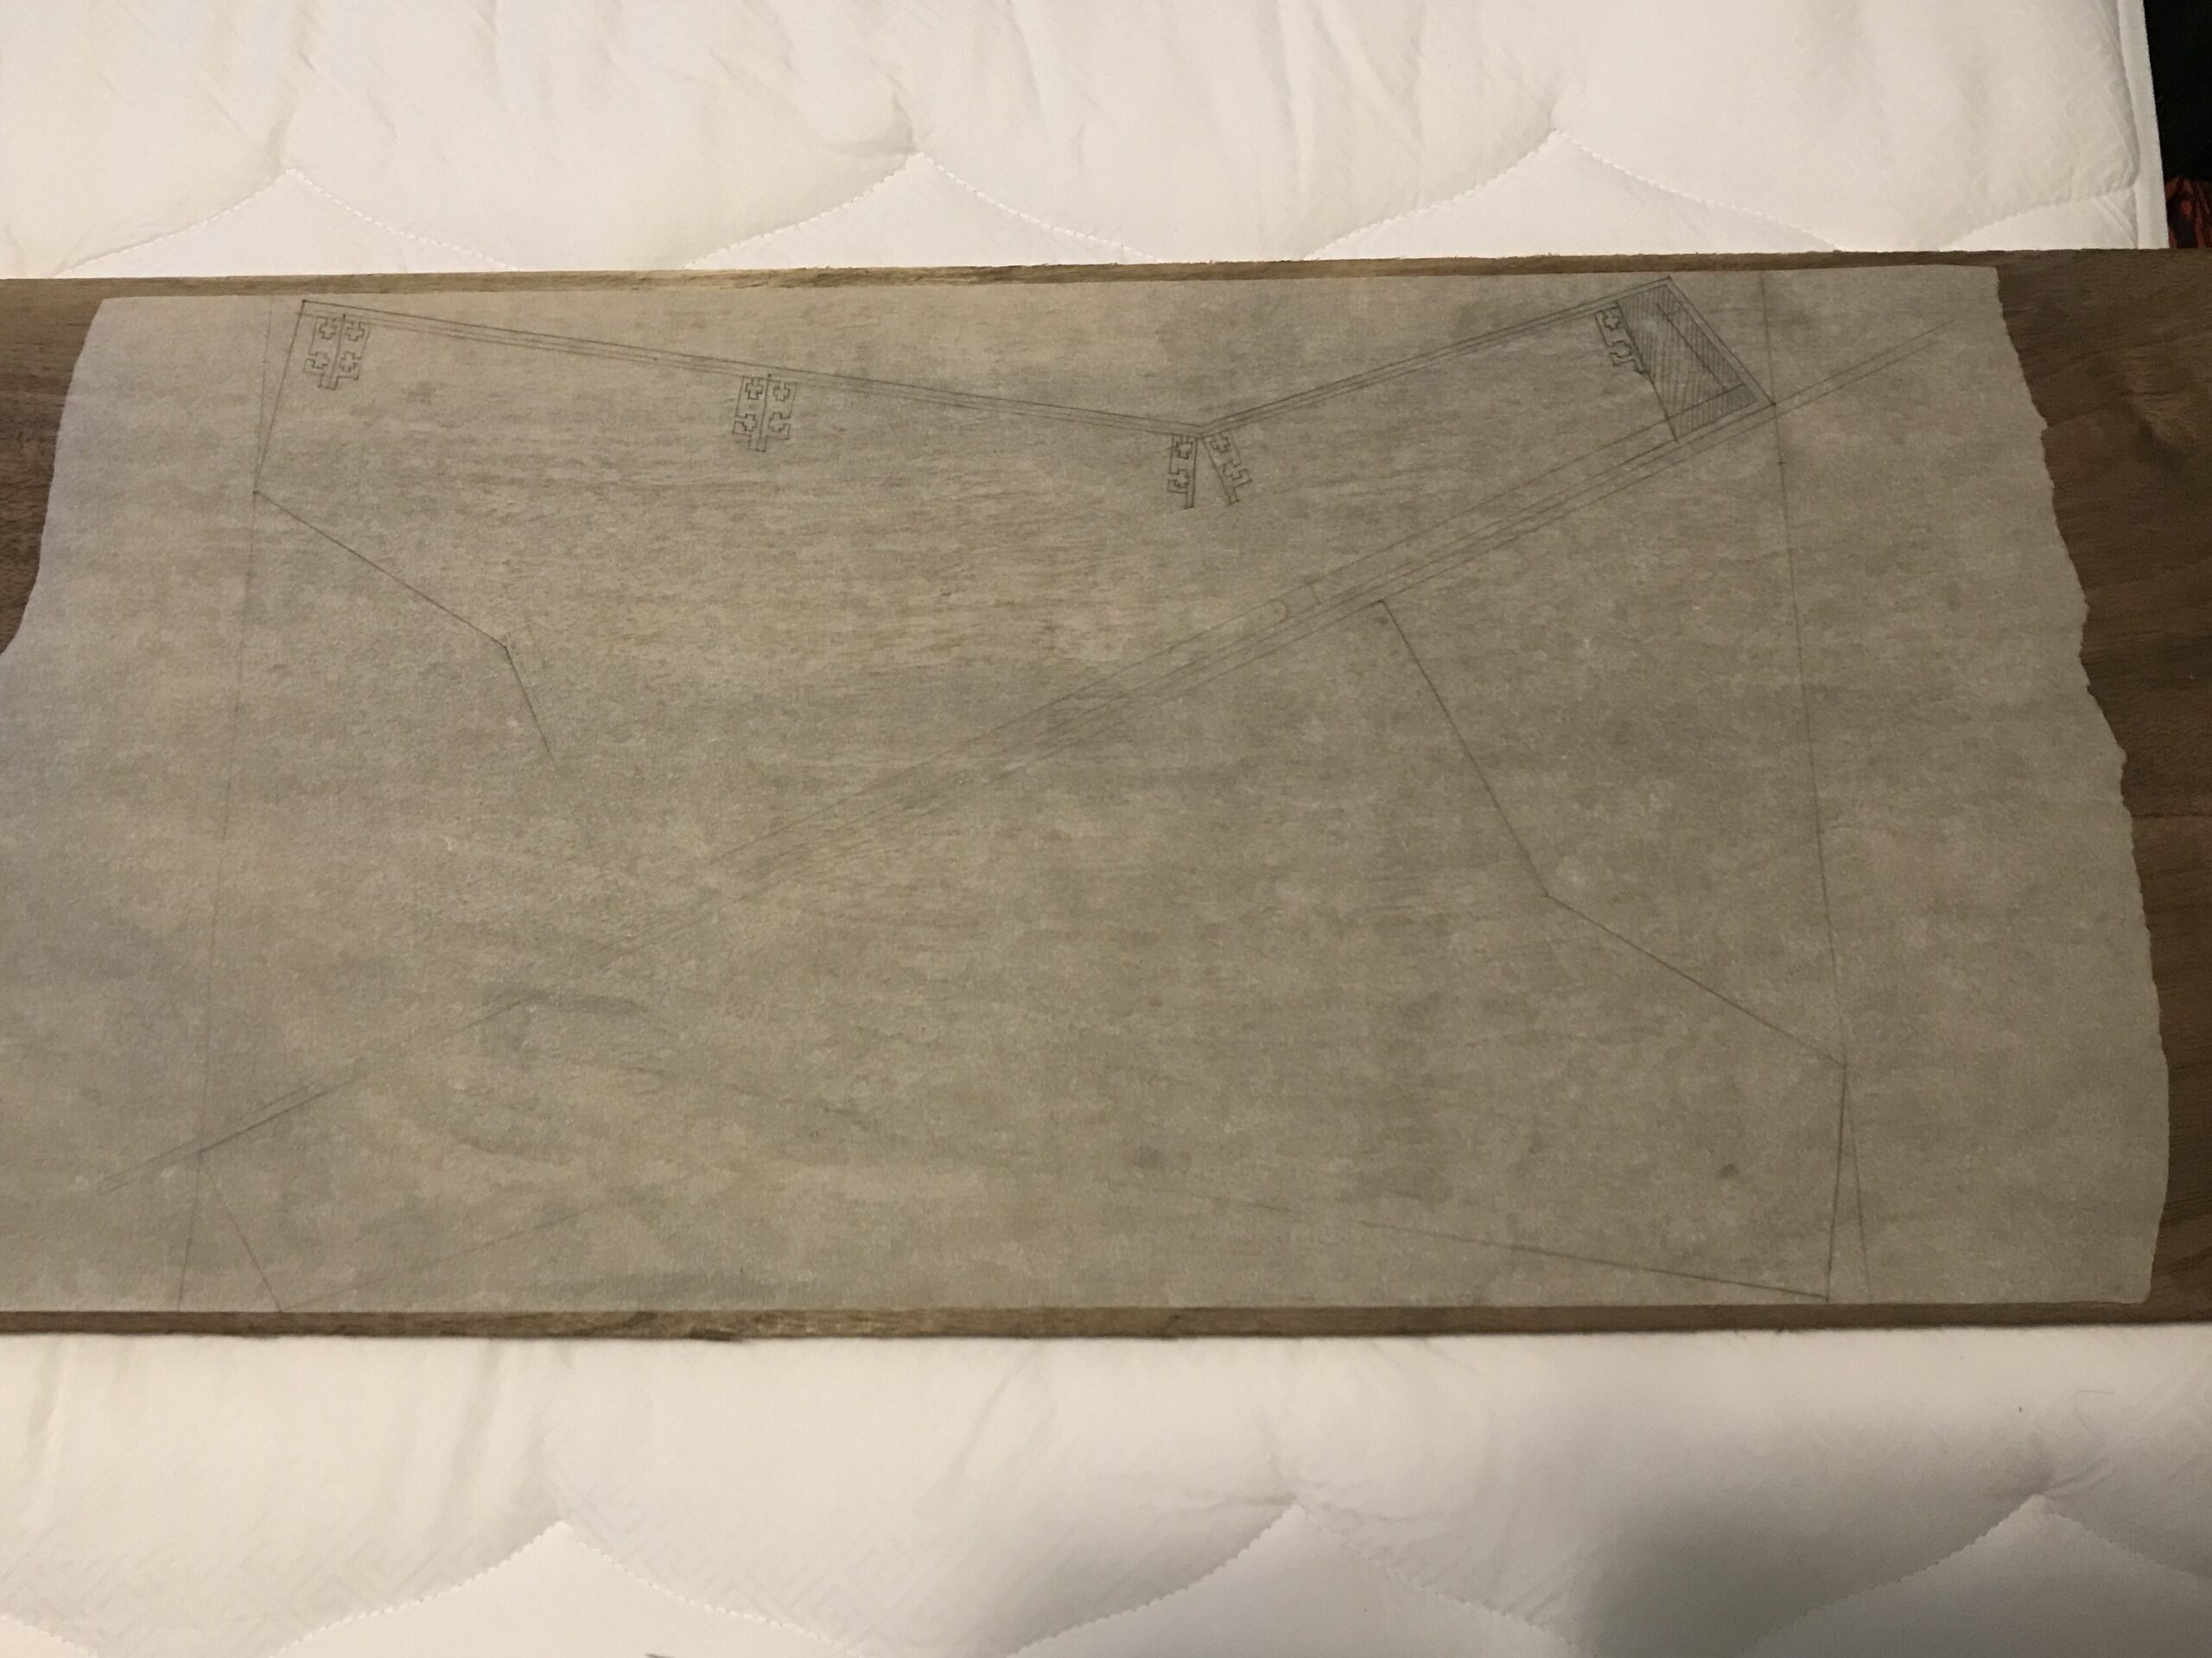
After getting the basic configuration of the case down, I traced the outline of a spare end panel I had for my Sub 37 and then used my Sketchup wood planning arrangement to create a template for the wood.
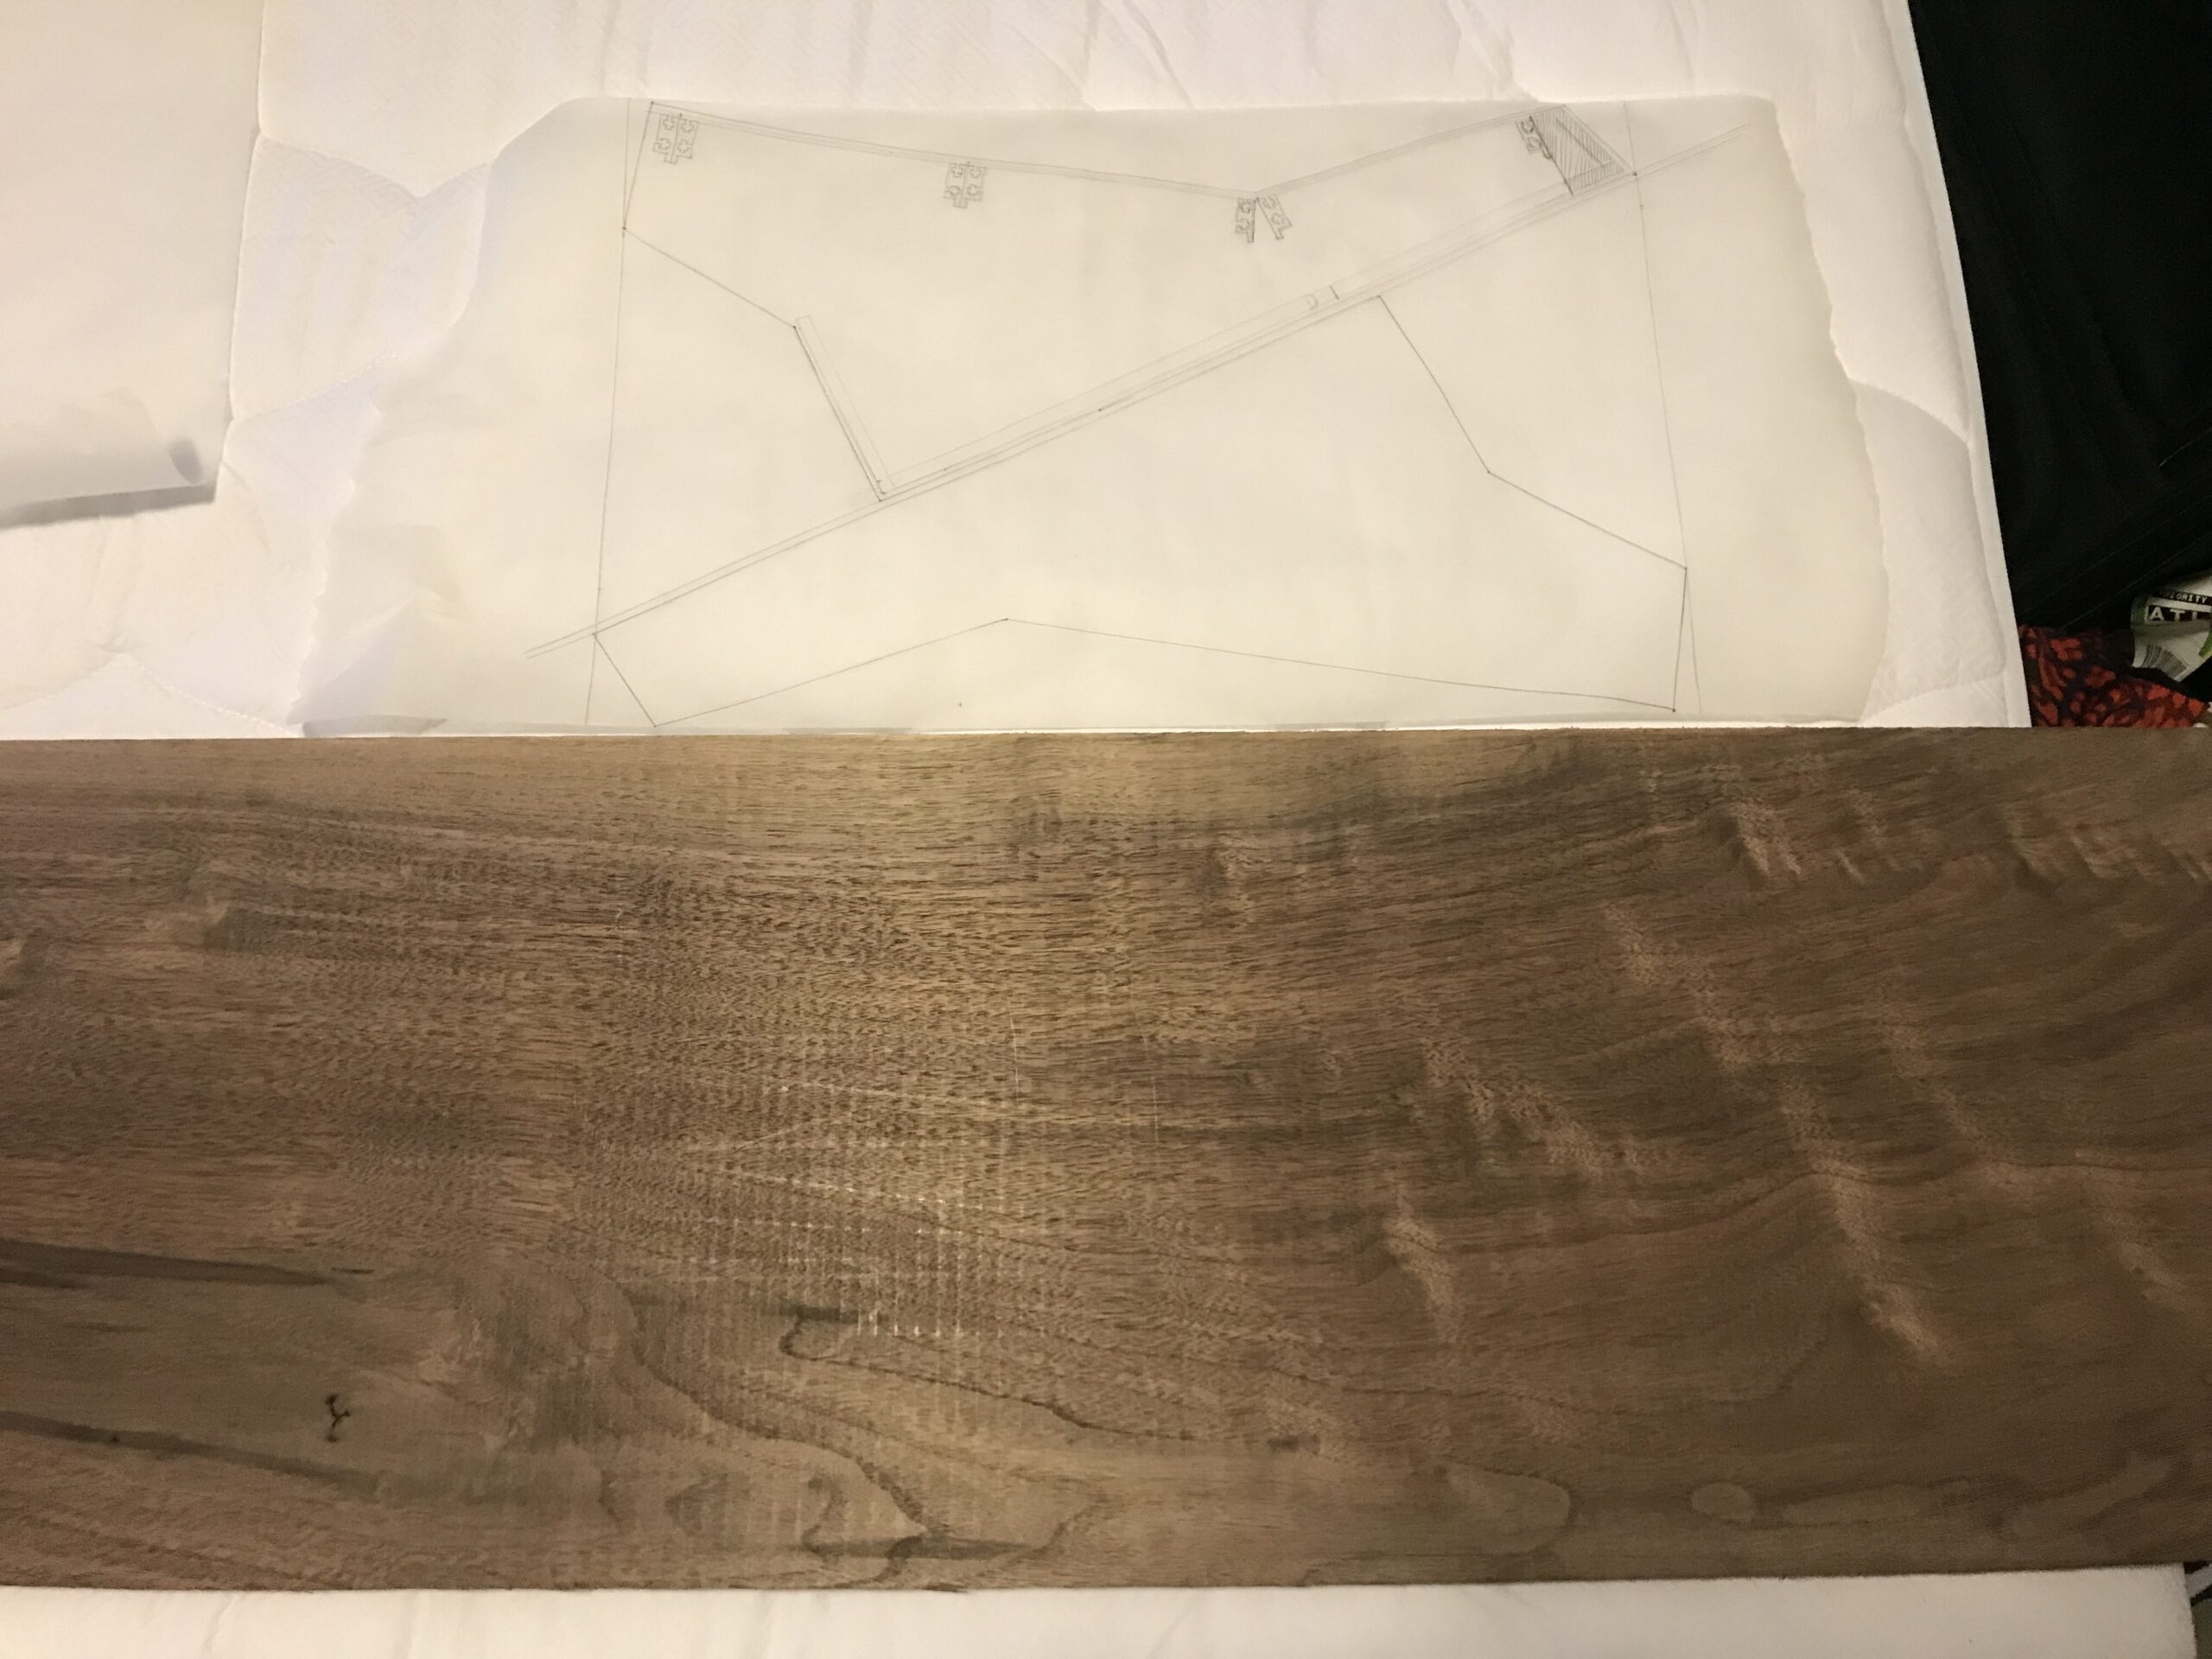
This way I could use my traced template to figure out the best spot to cut the end panels out of the wood, and make sure I wasn’t getting any knots, weird grain patterns, or other stuff I didn’t want on the face of the end panel.
Then, it was a matter of carefully planning the cuts with my table saw and cross cut sled to get the pieces cut down to close dimensions then use a jig saw to get it the rest of the way there. I don’t have a band saw, and that would have been by far the easiest way to cut these shapes. Around this time in the build I decided to build TWO cases since it would only be about 20% more work to do a second as I went along. I tried various methods of using a router to cut the second through fourth end panel out using the first as a template but it didn’t end up being easier really than using the jig saw.
Eventually though I had four nice pieces!
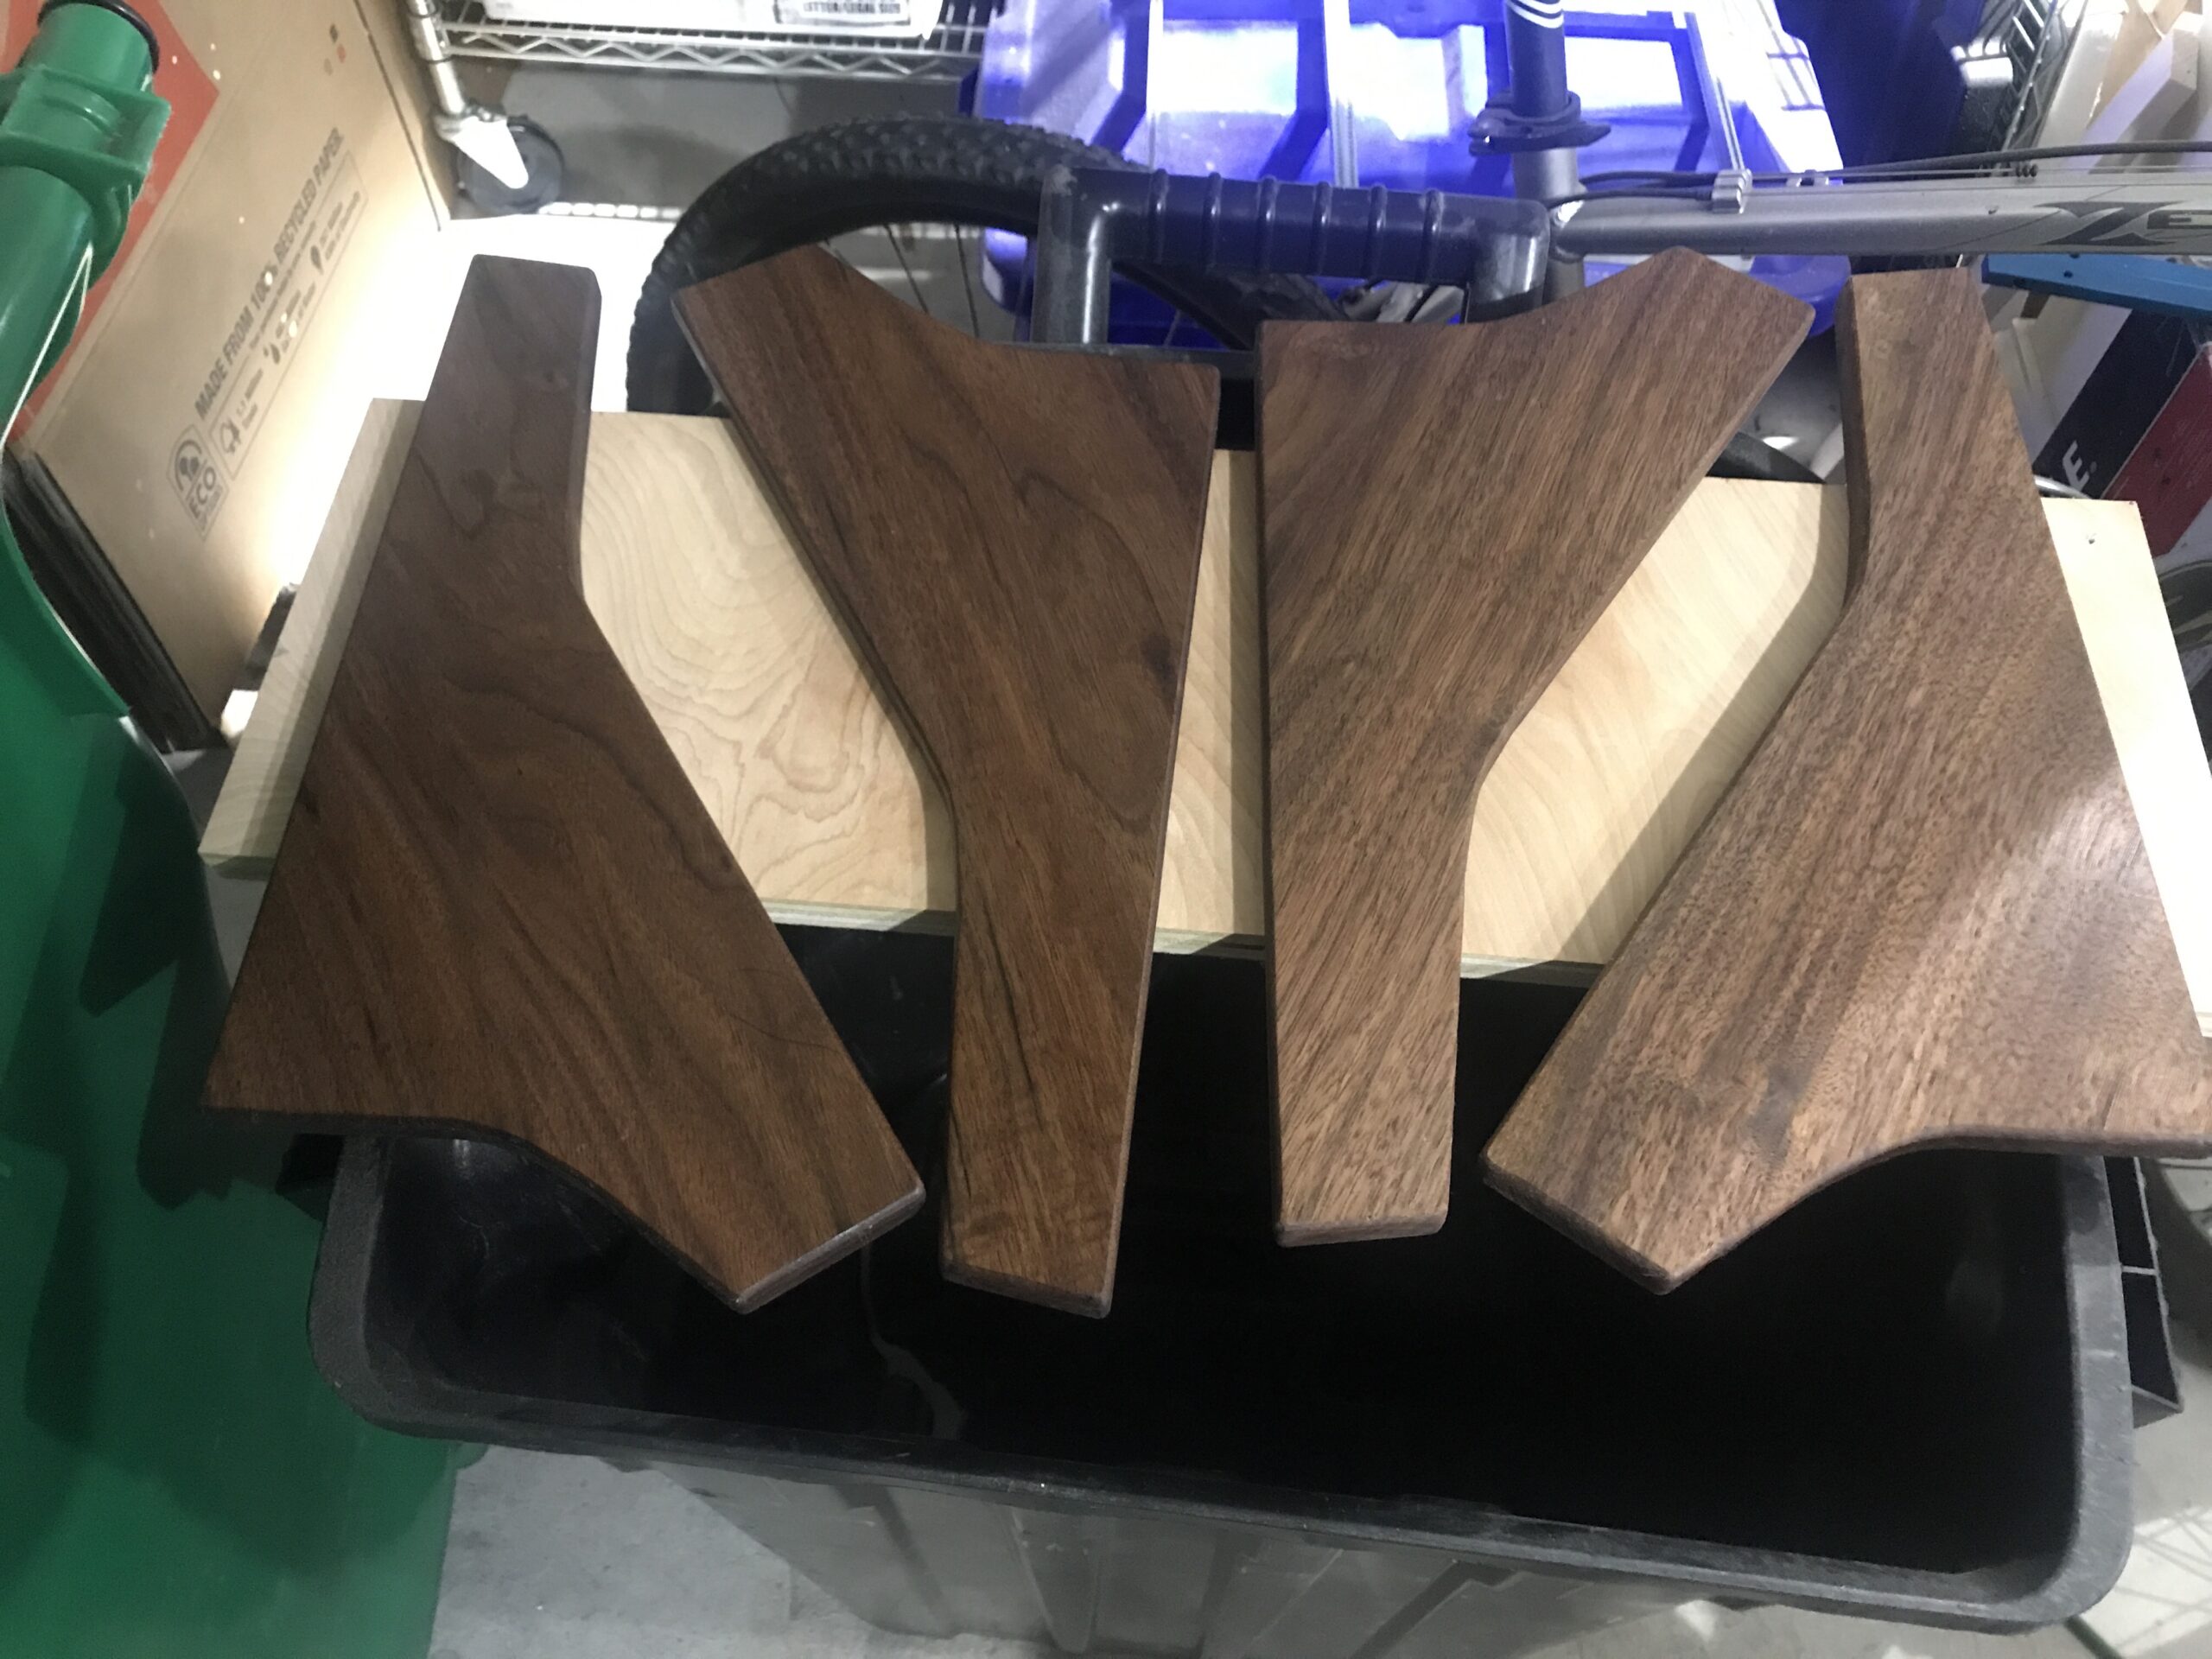
I used a roundover bit (1/4″ I think) to create rounded edges on what I decided would be the outside faces of the panels. I left the inside faces unrounded since I wanted a crisper edge on the inside.
Then I started using the mounting racks to figure out how and where the racks would attach.
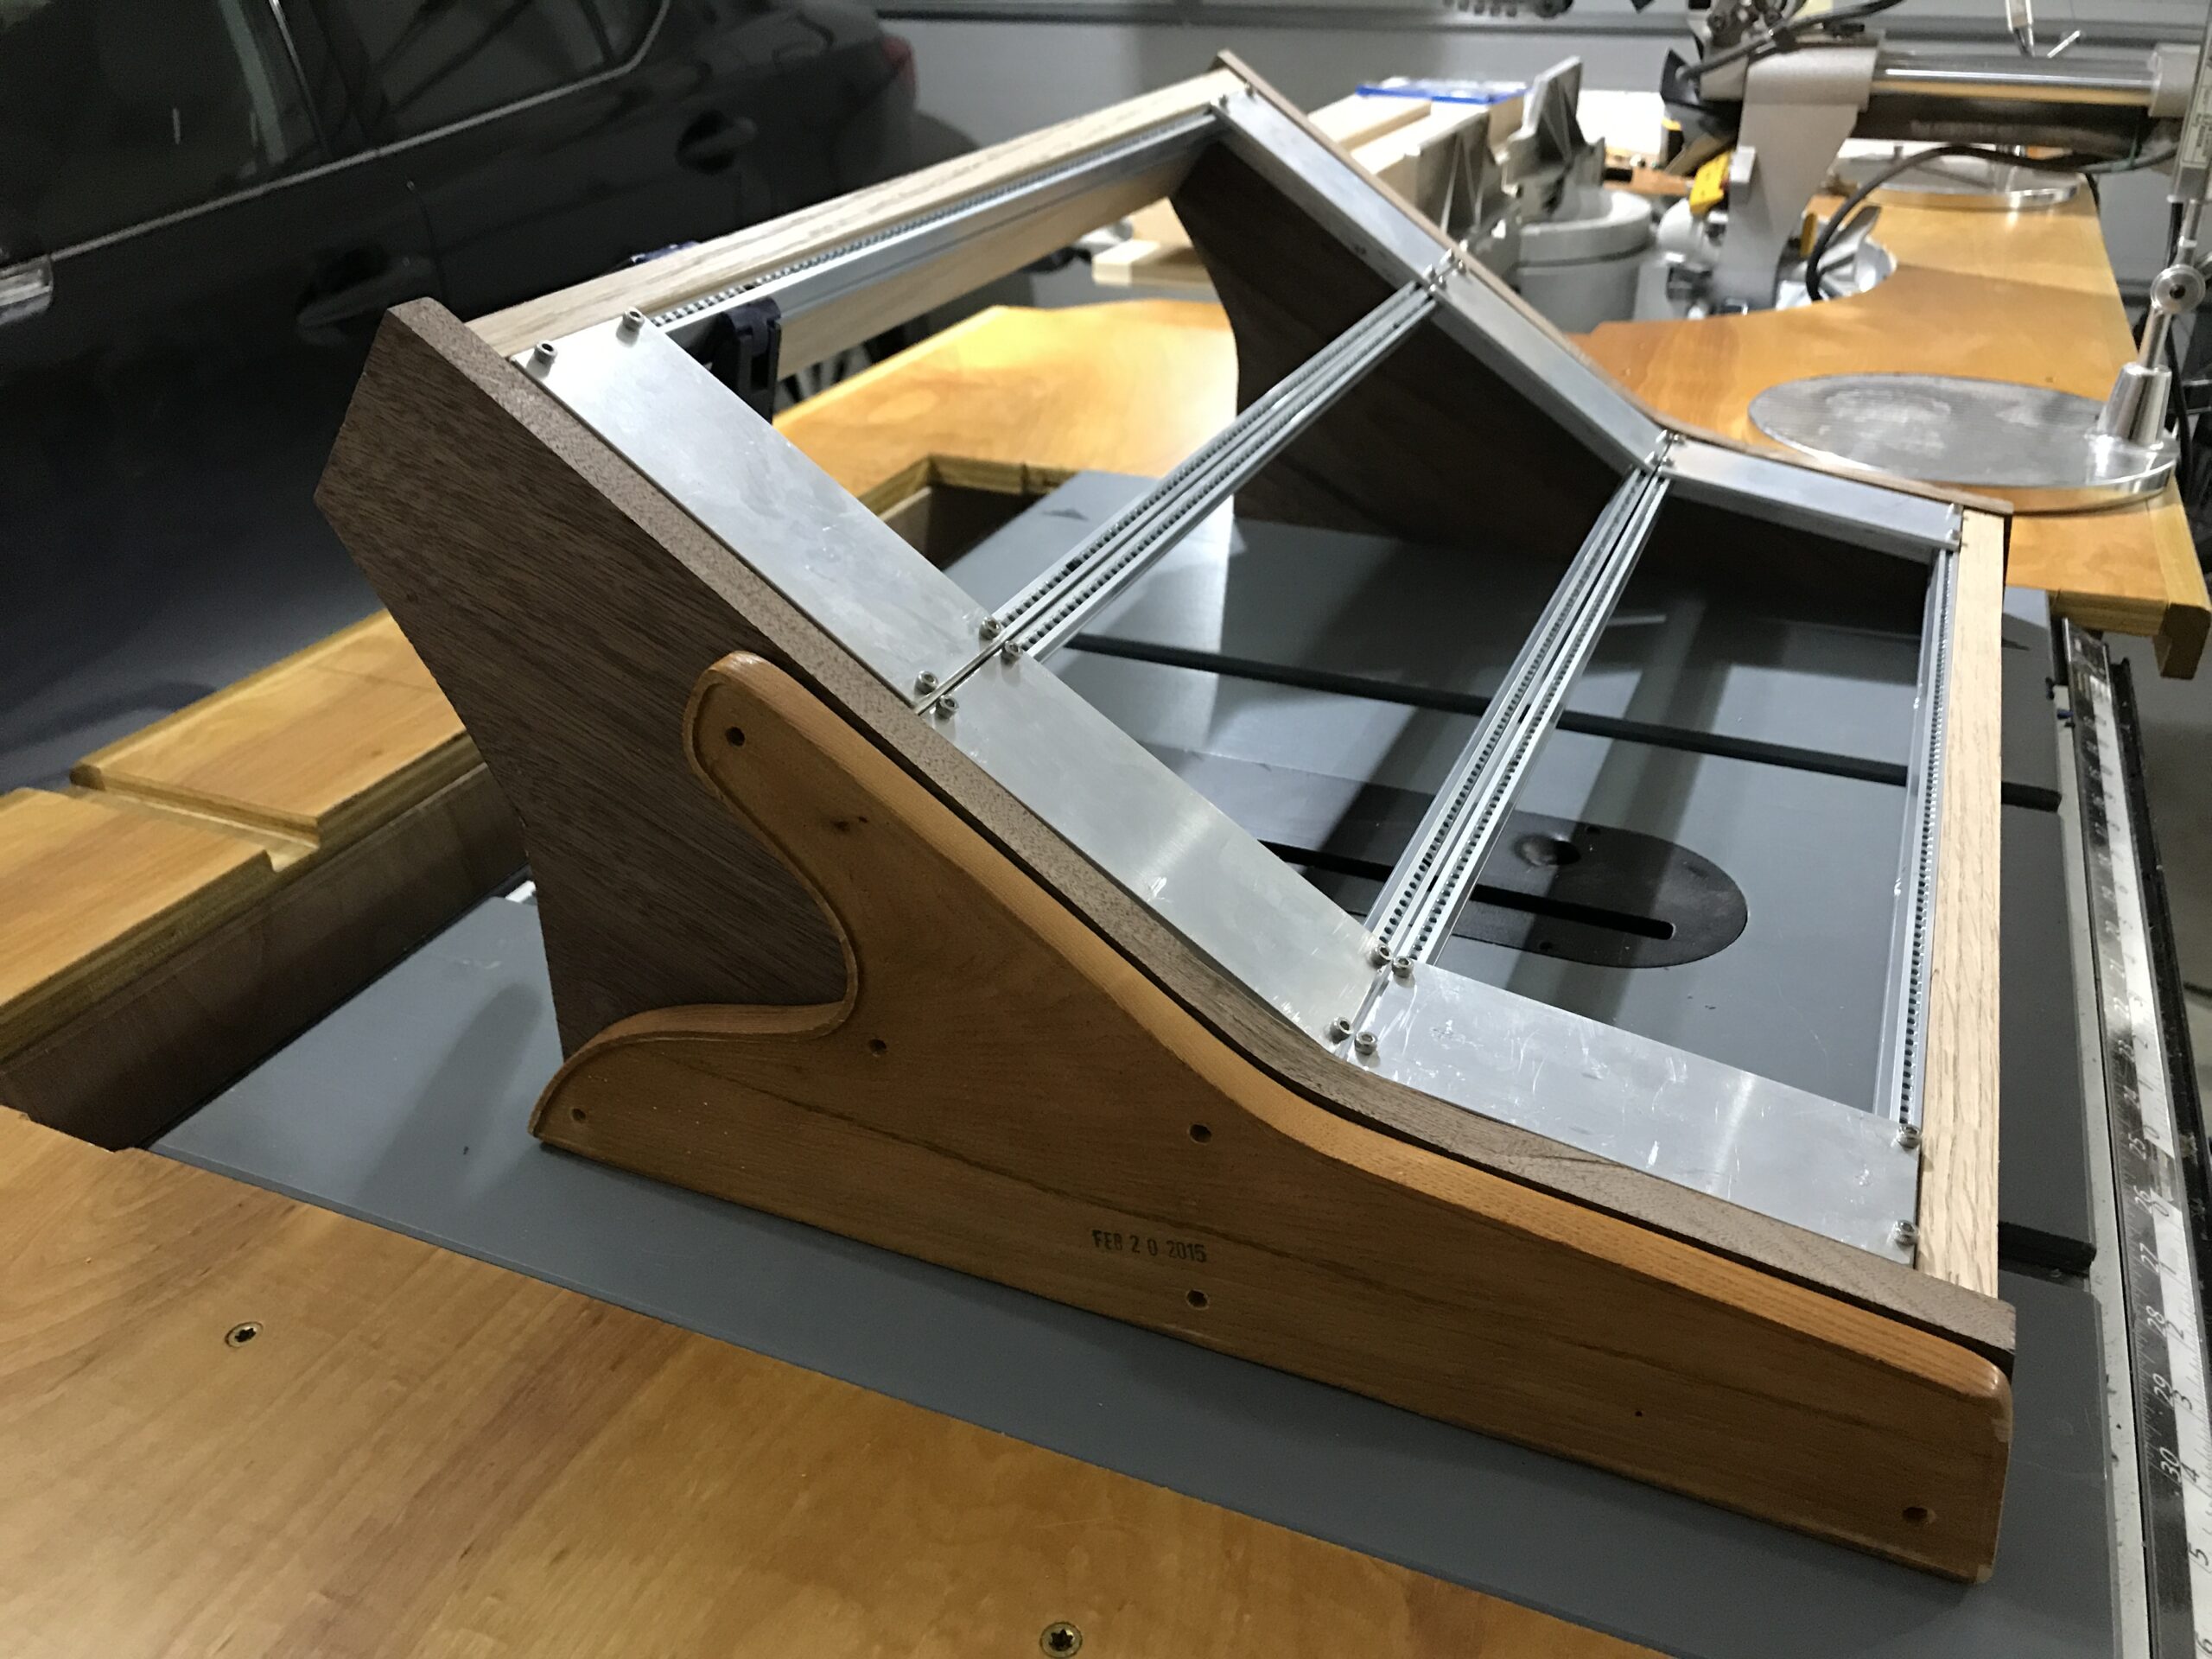
Since I had the 3U 104HP rack units which accommodate mounting from the inside so you don’t have to drill through the outside face of the end panel, I went ahead and screwed them into the end panels from the inside and then could confirm the lengths of my red oak front and rear rails were correct and that everything was taking shape.
I decided to join the front and rear rails with a dowel connection so no hardware would be visible, and so I could assemble and disassemble the units while they were being built, but at the end I could glue it all together and it would be nice and solid. I also decided that I wanted to create a countersunk channel for the racks ends to fit into so they weren’t as visible, and it would help to keep everything straightened. Finally, I knew that I wanted to have the L-shaped bottom and back sit in routed channels so I could glue them in without any exposed hardware. So all in all, that made the insides of the end panels pretty complicated to create.

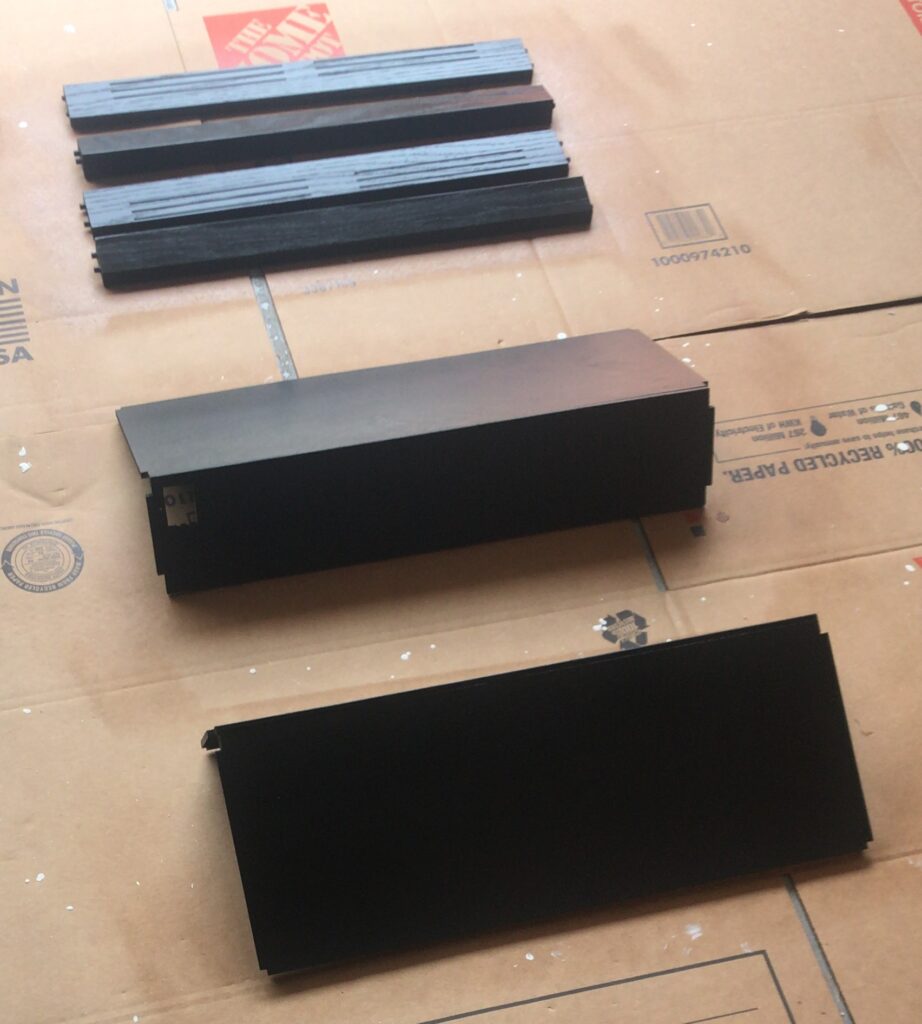
Then it was time to stain and finish them. I started with a few coats of Danish oil rub, but that really didn’t make them pop like I wanted (they looked a bit dried out still and not as vibrant and when you first put the Danish Oil on) so I eventually went back over them with a couple coats of the spray-can Helmsman Spar Polyurethane and that made them look great.
I then sanded the L-shaped bottom and backs, the front and rear rails, and then painted them all black to match the color scheme of the Sub 37. I think I used a spray can black called Krylon Fusion, and it worked really well. I also went over this with a couple coats of the Helmsman since it is a very hard and durable finish and protects the paint and the wood better.
Ok, let’s see what this thing looks like when its been put together and had some modules mounted in it!
Next up: Part 3 – The Assembly